So, in my last post I just kept running into all kinds of issues with trying to use EGit to create a quick Java Project and push up to my GitHub (on my Windows 7). Today, we try a different approach. Let's go through the client app created by GitHub @ http://windows.github.com/
Before I go through these instructions by GitHub, I still have the following set paths:
- My GitHub Java Rep: https://github.com/gradney/Java.git
- My Git root folder: C:/Users/gradney/git
- only thing in this folder is my global core.excludes file: .gitignore
- My Workspace folder: C:/Users/gradney/workspace/Git
- Although I still use Eclipse, I am not using EGit (i.e. Git plug-in for Eclipse).
- Updated default GitHub folder to: "C:\Users\gradney\git"
- Updated default shell to: Git Bash
- Name: HeadFirstJava
- Description: Projects created while learning from Head First Java.
- Path: C:\Users\gradney\git\HeadFirstJava
- Push to GitHub: True (checked)
- Keep this code private: False (unchecked)
- Account: gradney (checked)

I also see this repo (i.e. HeadFirstJava) created via Windows Explorer.

I go into my HeadFirstJava folder via the Windows Explorer.

Yes, we are making progress! And I see it's already in my GitHub, yes!!!

So, maybe I can create a Java Project with Eclipse now. Before I do, let's add a Summary, Description for Uncommitted changes, and then "Commit changes" in the GitHub Client. Nice, we have "Unsynced commits" which is a good sign. Next, click on "publish" in the GitHub Client first and see what happens.

Yes! I also clicked on "sync" in making sure everything was sync'd. And, my files are committed online as we can see! I'm feeling really good now (especially after all the trouble I had yesterday and this morning).
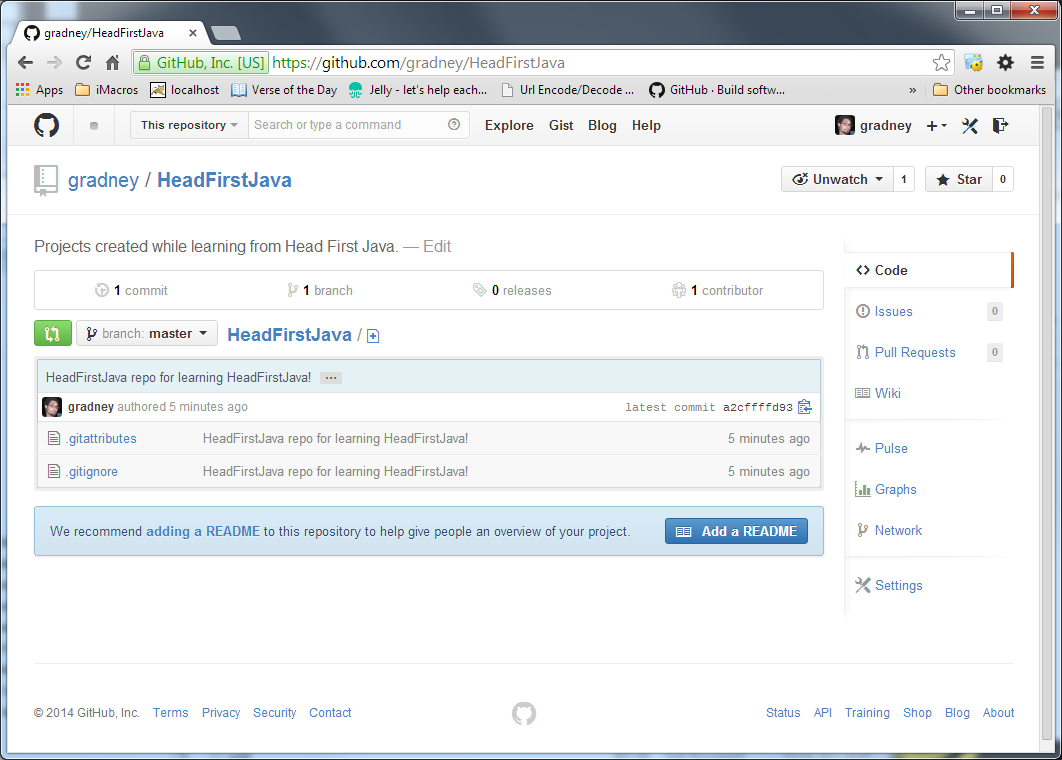
Oh, let's add the README file as recommended by GitHub. Online, let's click on "Add a README" button. I'm pretty satisfied with what GitHub added automatically into this README file. I add a quick title and description, and then click on "Commit new file" at the bottom of the webpage.
Here's something interesting: I just added a new file via online in GitHub but I don't have this downloaded to my local Git repo. What do I do (in sync'ing the two)?
Well, this is beautiful - GitHub Client already connects and establishes a claim that our local repo is not in sync with the online repo (i.e. GitHub). The nice little, light blue icon (with the number of updates missing from my local) is displayed next to the "sync" button. All we have to do is click "sync" and our local will sync up with GitHub. This also updates in our Git root folder (C:\Users\gradney\git\HeadFirstJava). Perfect!!!

Now, we can proceed towards the main objective - creating a Java Project to publish to GitHub. Hopefully I can put this up tomorrow. Until then, Peace! :)
No comments:
Post a Comment